How to Use a Cocktail Shaker: Boston vs Cobbler + How Long to Shake
Approx. 9 min read
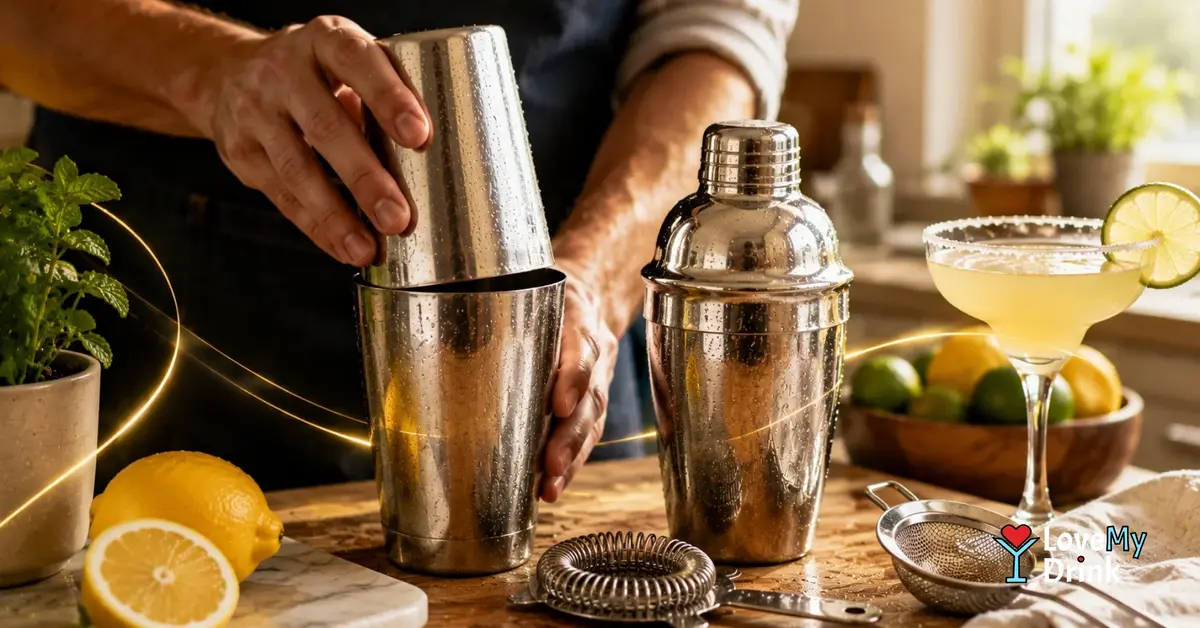
How to shake a cocktail in 6 simple steps
Most shaken cocktails do not need a complicated technique. You need a secure seal, plenty of fresh ice and one confident shake.
- Add the non-carbonated cocktail ingredients to the shaker.
- Add plenty of fresh, firm ice.
- Seal the shaker before lifting it from the counter.
- Hold both parts securely and shake with a firm, relaxed motion.
- Shake for about 10–15 seconds, or until the outside feels properly cold.
- Open and strain the drink straight away.
One rule matters more than your shaking style: never seal soda water, tonic, Champagne, ginger beer or another fizzy mixer inside a shaker. Shake the still ingredients first, then add the bubbles in the glass.
The Love My Drink Shake Check
Before you shake, run through five quick questions. This is the shortcut I would rather a beginner remember than a page of bartender theory.
- 1. Does the drink contain citrus, juice, syrup, coffee, cream, egg white, aquafaba or fruit? It will usually benefit from shaking.
- 2. Is it mostly clear spirits, vermouth and liqueurs? It will usually be stirred instead.
- 3. Does it contain bubbles? Keep them out of the shaker and add them later.
- 4. Is there enough ice? Use plenty of fresh, firm ice rather than a few soft, half-melted cubes.
- 5. Is the shaker very cold after about 10–15 seconds? Strain and serve. More shaking is not automatically better.
The easy memory line: texture in, bubbles out, plenty of ice, 10–15 seconds.
Boston vs Cobbler: choose by friction, not skill level

Ignore the idea that a Cobbler is for beginners and a Boston shaker is for professionals. The better question is simple: which one creates less friction for the way you actually make drinks?
- Choose a Cobbler shaker if you make a cocktail now and then and like having the lid and strainer built into one tool.
- Choose a tin-on-tin Boston shaker if you expect to make shaken cocktails regularly and want more room, fewer parts to clean and a setup you are unlikely to outgrow.
For most people who want to keep making cocktails at home, I would choose the Boston setup. There is a small learning curve, but it disappears quickly once you know how to seal and release the tins.
Affiliate disclosure: This article contains affiliate links. If you buy through one of these links, Love My Drink may earn a commission at no extra cost to you. As an Amazon Associate, we earn from qualifying purchases.
My practical Boston setup
Start with a tin-on-tin Boston shaker set. Add a Hawthorne strainer to hold the shaking ice back when you pour.
A Boston shaker has no built-in strainer, but that extra piece is a good trade-off if you value quick cleaning and a simple two-tin setup.
How to use a Boston shaker

- Add your ingredients and ice to the smaller tin.
- Place the larger tin over it at a slight angle rather than perfectly centered.
- Press the tins together firmly to create the seal.
- Check the seal before lifting, then keep one hand on each end while you shake.
- After shaking, find the side where the rims separate slightly and give that side a firm tap with the heel of your hand.
- Fit the Hawthorne strainer and pour.
The 60-second Boston shaker confidence drill
If the Boston shaker feels intimidating, do not make your first practice round with an Espresso Martini. Put cold water and a handful of ice in the tins, seal them over the sink, shake for five seconds, open them and strain. Repeat once.
That tiny drill teaches the only two movements that usually make beginners nervous: creating the seal and breaking it. Once those feel normal, the actual cocktail is the easy part.
When a Cobbler shaker makes more sense
If you want one self-contained tool, a Cobbler shaker is still a very good choice. Add ingredients and ice, fit the strainer lid and cap securely, keep one hand over the top while shaking, then remove the cap and pour through the built-in strainer.
The trade-off is that the cap or lid can sometimes become stubborn when the metal gets very cold. That is a design quirk, not proof that you are using it incorrectly.
Do you need a fine-mesh strainer too?
Not for every cocktail. A fine-mesh strainer is useful when you want to catch tiny ice chips, fruit pulp, herbs or coffee particles for a cleaner drink served without ice.
If you are still deciding what else deserves space in your kitchen, our cocktail tools for beginners guide covers the wider home-bar setup without turning it into a shopping list.
How long should you shake a cocktail?
For most standard cocktails shaken with ice, about 10–15 seconds is a useful home baseline. The clock is only one signal, though. The shaker should also feel very cold on the outside.
- Standard citrus drink: about 10–15 seconds with plenty of ice.
- Espresso Martini: about 12–15 seconds with a strong shake to help build foam.
- Egg white or aquafaba Sour: a dry shake without ice can help create foam, followed by a second shake with ice to chill and dilute.
- Fizz, highball or sparkling drink: shake only the still base, then add soda or sparkling wine after straining.
The goal is not to win a shaking contest. Chill the drink, add the right dilution and create the texture you want — then stop.
Fix leaks and stuck lids without fighting the shaker
If your cocktail shaker leaks
- It may be overfilled. Leave enough room for the ice and liquid to move.
- The seal may not be set. Lock the parts together before you lift the shaker.
- A Cobbler cap may be loose. Keep a hand over the top while shaking.
- Boston tins may be badly matched or dented. Damage around the rim can make a reliable seal harder.
If you are unsure about a Boston seal, practise with water and ice over the sink. It is much cheaper than practising with a Margarita on the floor.
If a Boston shaker will not open
Do not pull the tins straight apart. Look for the side where the two rims show the widest gap, hold the shaker securely and give that side a firm tap with the heel of your hand. You are breaking the seal, not wrestling the tins.
If a Cobbler shaker is stuck
Let it warm for a short moment, dry the outside and use a towel for extra grip. If needed, run a little warm water around the outside of the stuck metal joint. Do not pry the shaker open with a knife or another sharp tool.
5 cocktail shaker mistakes beginners make
- Shaking carbonated ingredients. Pressure builds inside a sealed shaker. Add bubbles after shaking.
- Using too little or very wet ice. Fresh, firm ice gives you better control over chilling and dilution.
- Overfilling the shaker. The ice needs room to move and the shaker needs room to seal.
- Forgetting to control both ends. Keep a secure hand on each part of a Boston shaker and over the cap of a Cobbler.
- Assuming longer is always better. Once the drink is cold and properly diluted, extra shaking usually adds effort rather than improvement.
The Love My Drink Shaker Ladder: 5 drinks, 5 skills
Instead of reading ten more technique rules, make five drinks that each teach you one useful shaker skill. You do not need to make them all tonight — just move up the ladder when you want to learn something new.
1. Margarita — learn the basic wet shake
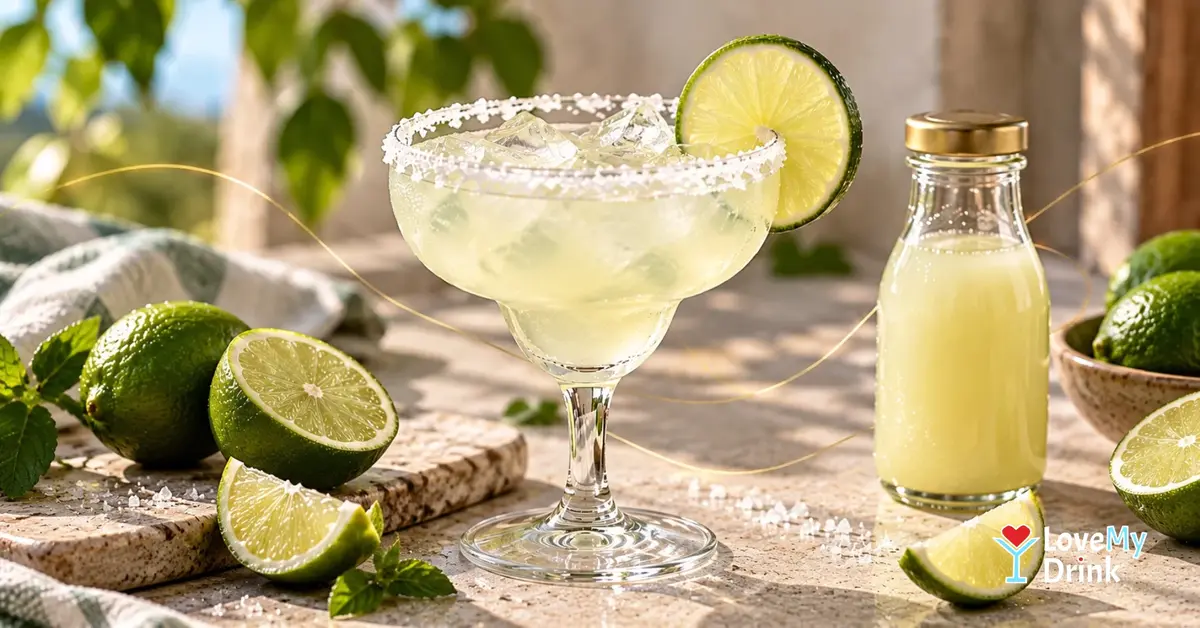
Start with our easy Margarita recipe. Fresh lime makes the difference between a drink that has simply been mixed and one that feels properly cold, bright and integrated. Practise a confident 10–15 second shake.
2. Daiquiri — learn the clean finish
Next, make the classic Daiquiri. It is a simple way to practise shaking with plenty of ice and then fine-straining for a cleaner texture in a chilled glass.
3. Espresso Martini — learn the hard shake
Our Espresso Martini teaches why energy matters. A strong 12–15 second shake helps create the cold, foamy top that makes the drink look finished.
4. Whiskey Sour — learn the two-stage shake
The Whiskey Sour is the next step if you use pasteurized egg white or aquafaba. Practise a dry shake for foam, then add ice and shake again to chill the drink.
5. Gin Fizz — learn when not to shake
Finish with the Gin Fizz. Shake the still base first, strain it, then add chilled soda in the glass. It is the easiest way to remember that bubbles stay out of a sealed shaker.
Cocktail shaker FAQ
Do you put ice or ingredients in a cocktail shaker first?
For home cocktails, add and measure the liquid ingredients first, then add ice just before shaking. That keeps the ice from sitting and melting while you measure.
How much ice should you put in a cocktail shaker?
Use plenty of fresh, firm ice while leaving enough room to close the shaker securely. You do not need to count cubes; a generous amount chills the drink quickly and consistently.
Do you need a strainer with a Boston shaker?
Yes. A Hawthorne strainer is the usual choice for holding back the shaking ice. A fine-mesh strainer is optional when you want an even cleaner pour.
Can you use a jar instead of a cocktail shaker?
Yes, a clean jar with a tight-fitting lid can work for a non-carbonated drink while you are starting. Never seal soda, tonic, sparkling wine or another fizzy ingredient inside it.
Can you shake two cocktails at once?
Sometimes, if your shaker has enough capacity and the recipe scales cleanly. Do not pack it so full that the ice cannot move or the shaker cannot seal securely. For a small home shaker, two separate rounds are often easier.
One good shake is enough
A cocktail shaker looks more technical than it is. Plenty of ice, a secure seal and about 10–15 seconds will take you surprisingly far.
Pick the shaker that creates the least friction for you, then practise on one drink you already like. Once the seal, shake and strain feel normal, you stop thinking about the tool — and start thinking about the drink.